Sticker Application Instructions
Having problems with your transfer sticker? Don't worry we are here to help you fix problems that can occur though shipping and get it ready to be applied. We also offer application tools at a low price to help remove any air bubbles while protecting the quality of your sicker.
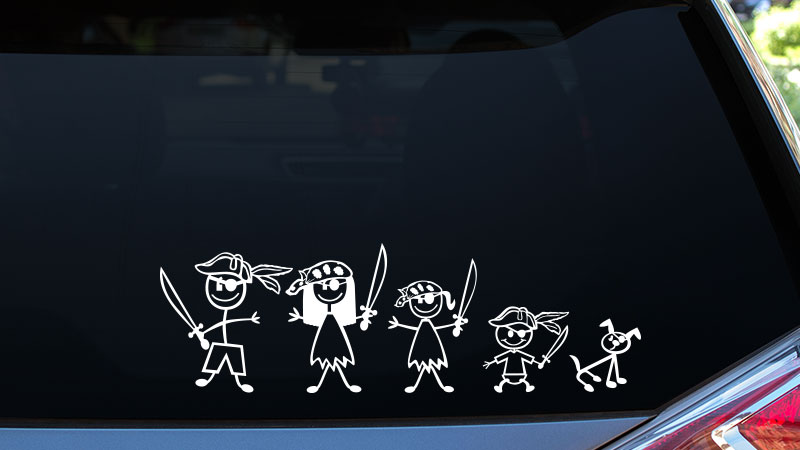
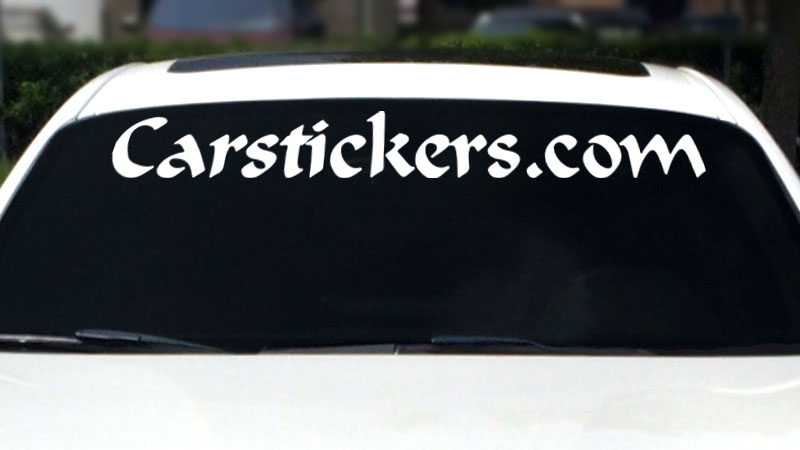
If you need help applying any other types of stickers we also have guides for Small Stickers or Decals, Large Transfer Stickers, Large Die-Cut Stickers, Large Windshield Stickers and Family Stickers. We are also available through live chat, phone and email to answer any of your sticker and decal questions.

Transfer Sticker Preparation
Preparation Video
Items Needed
 Sticker
 Straight Edge
Preparation Steps
-
How to Prepare a Transfer Sticker for Application
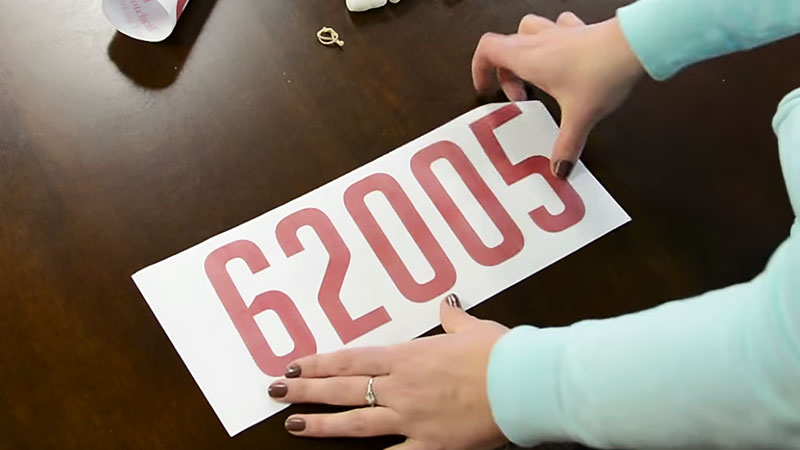
It is not uncommon for the transfer tape to separate slightly from the sticker backing in a few places during shipping. This is normal and easy to fix. Simply pull the transfer tape away from the backing about halfway across the sticker. Then replace it slowly, smoothing the area with the flat part of your hand from the middle of the sticker out to the edge. Then repeat this process on the remaining side.
-
Tips
*Use a pin to poke any air bubbles in the center and push the air out through the hole.
*The recommended optimum temperature for applying graphics is 70°F. For best results do not apply a sticker in extreme hot or cold temperatures.


